The Joyful Sort How To: Organize A Fridge
One of the hardest parts about organization is the ongoing maintenance, the daily/weekly/monthly upkeep that can easily fall by the wayside when life gets in the way. That’s exactly what happened in my own kitchen recently after a particularly busy few weeks of fall sports and packed work calendars and so, to assure everyone once again that even a professional organizer’s house isn’t perfect all the time, I present to you our late October fridge:
November is just the loveliest month of the year to me, filled with wonderful things like travel and guests and family and food, so it was important to get the fridge sitch checked off the ole’ To Do list as soon as possible and free up both mental and physical space. It was also perfect timing for an exciting opportunity to partner with iDesign, who happen to make some of my very favorite organizational products, particularly for the kitchen and pantry.
Take it all out.
Starting to sense a pattern with the first step of my How To posts? Take a quick Before picture, then remove all of the fridge contents (store any perishable items in a cooler or insulated shopping bag for now) so that you can then give the interior a good clean - wipe down the shelves, rinse out and dry the crisper bins, scrape the random jelly smears off of the inside of the door, the works.
Keep like with like.
Use any available countertop or table space to start grouping like items together - dairy, fruits and veggies, snacks, condiments, dressings, etc. As you go, toss any expired product and try to combine contents whenever possible. And, yes, you can even declutter in the fridge! If you find that you’ve got, say, six different bottles of barbecue sauce (insert loving side-eye to my brisket-loving husband) and one of your fridge pain points is lack of room, maybe it’s time to pitch one or two of the almost empty bottles and move on.
Designate zones.
Once you’ve figured out what your major food categories are, it’s time to think about placement. There are all sorts of graphics on Pinterest for this - leftovers on the top shelf so that they’re easy to see and use up, school lunch supplies at kid height, dairy on the coldest bottom shelf - but at the end of the day the layout of your fridge has to make sense for your daily habits. This is where that Before picture comes in: take a quick peek to see where you tend to stash your most commonly used items and use that as a starting point.
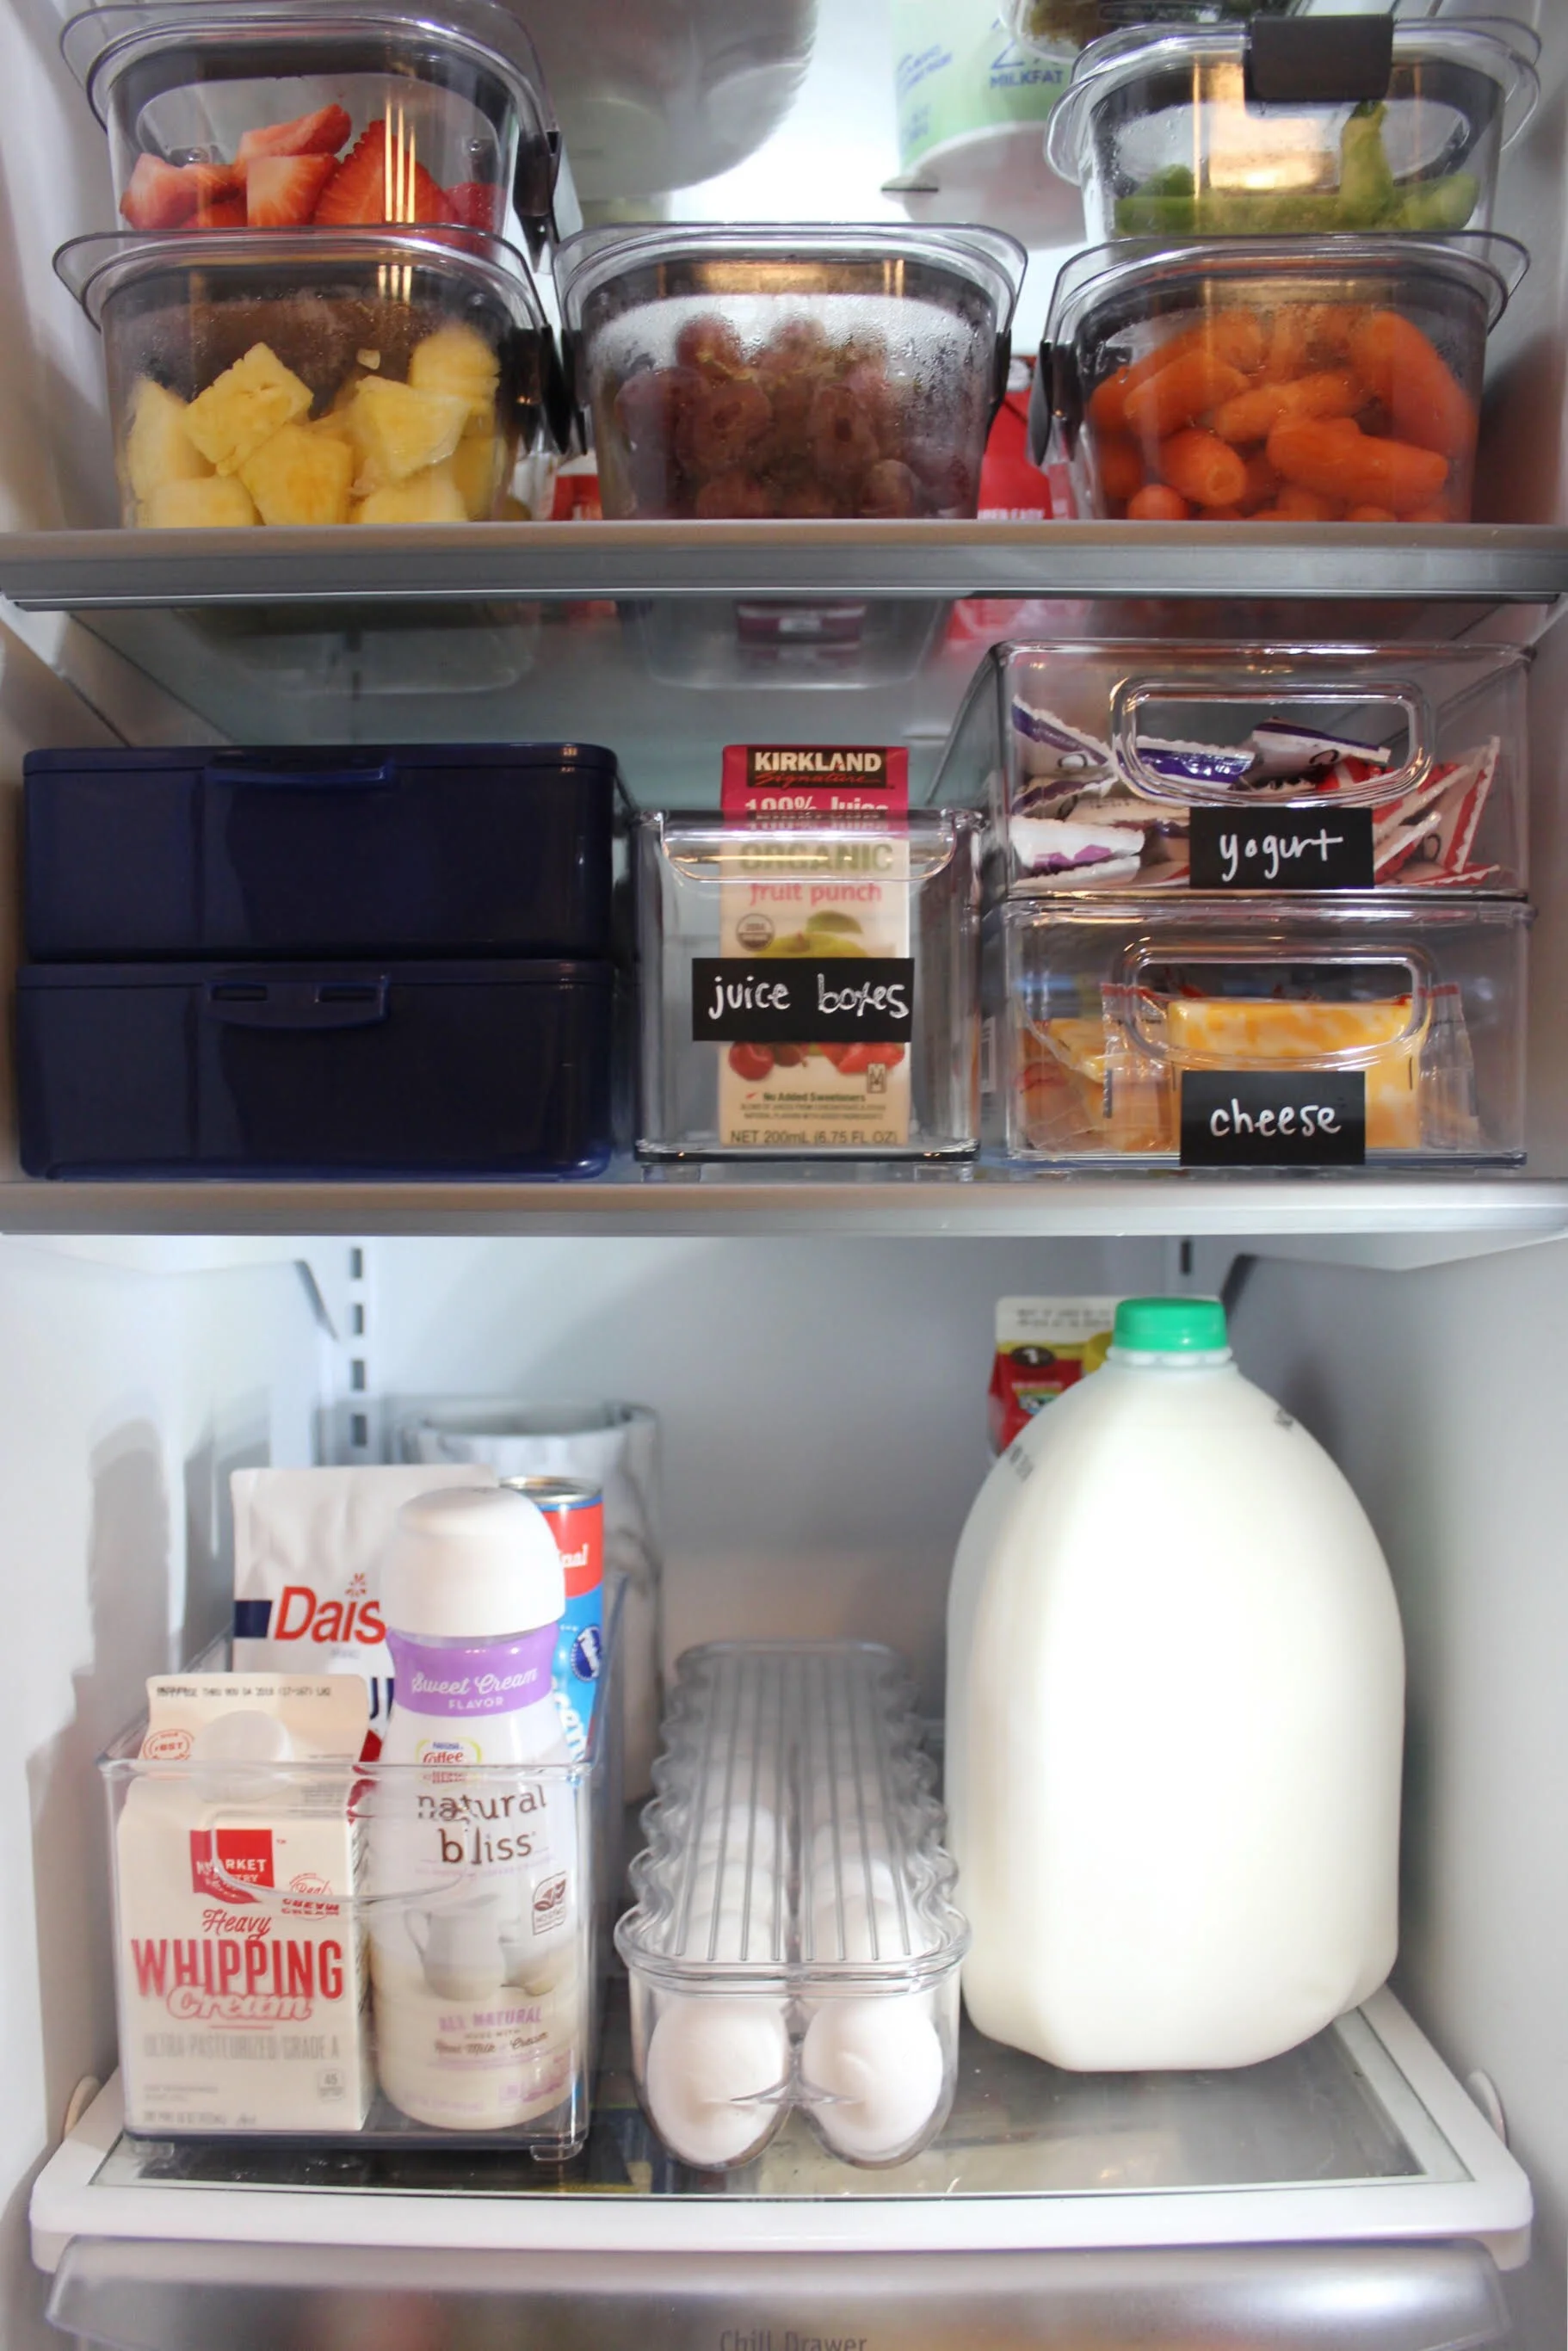
It seems silly in hindsight, but we’d just sort of been making do with the shelf arrangement that was placed when we had this new refrigerator installed last spring. It was fine, but definitely not functioning as well as it could have been, so this was a great chance to finally play around with some shelf arrangements. It was amazing to see what a difference a few small adjustments made! The shelf that we’d previously used for dairy items, for example, never seemed quite large enough for the items we regularly buy, so I changed it up by grouping dairy items together on the bottom shelf and then lowering the shelf above it to allow for some extra room to create a designated zone for school lunch supplies.
Contain.
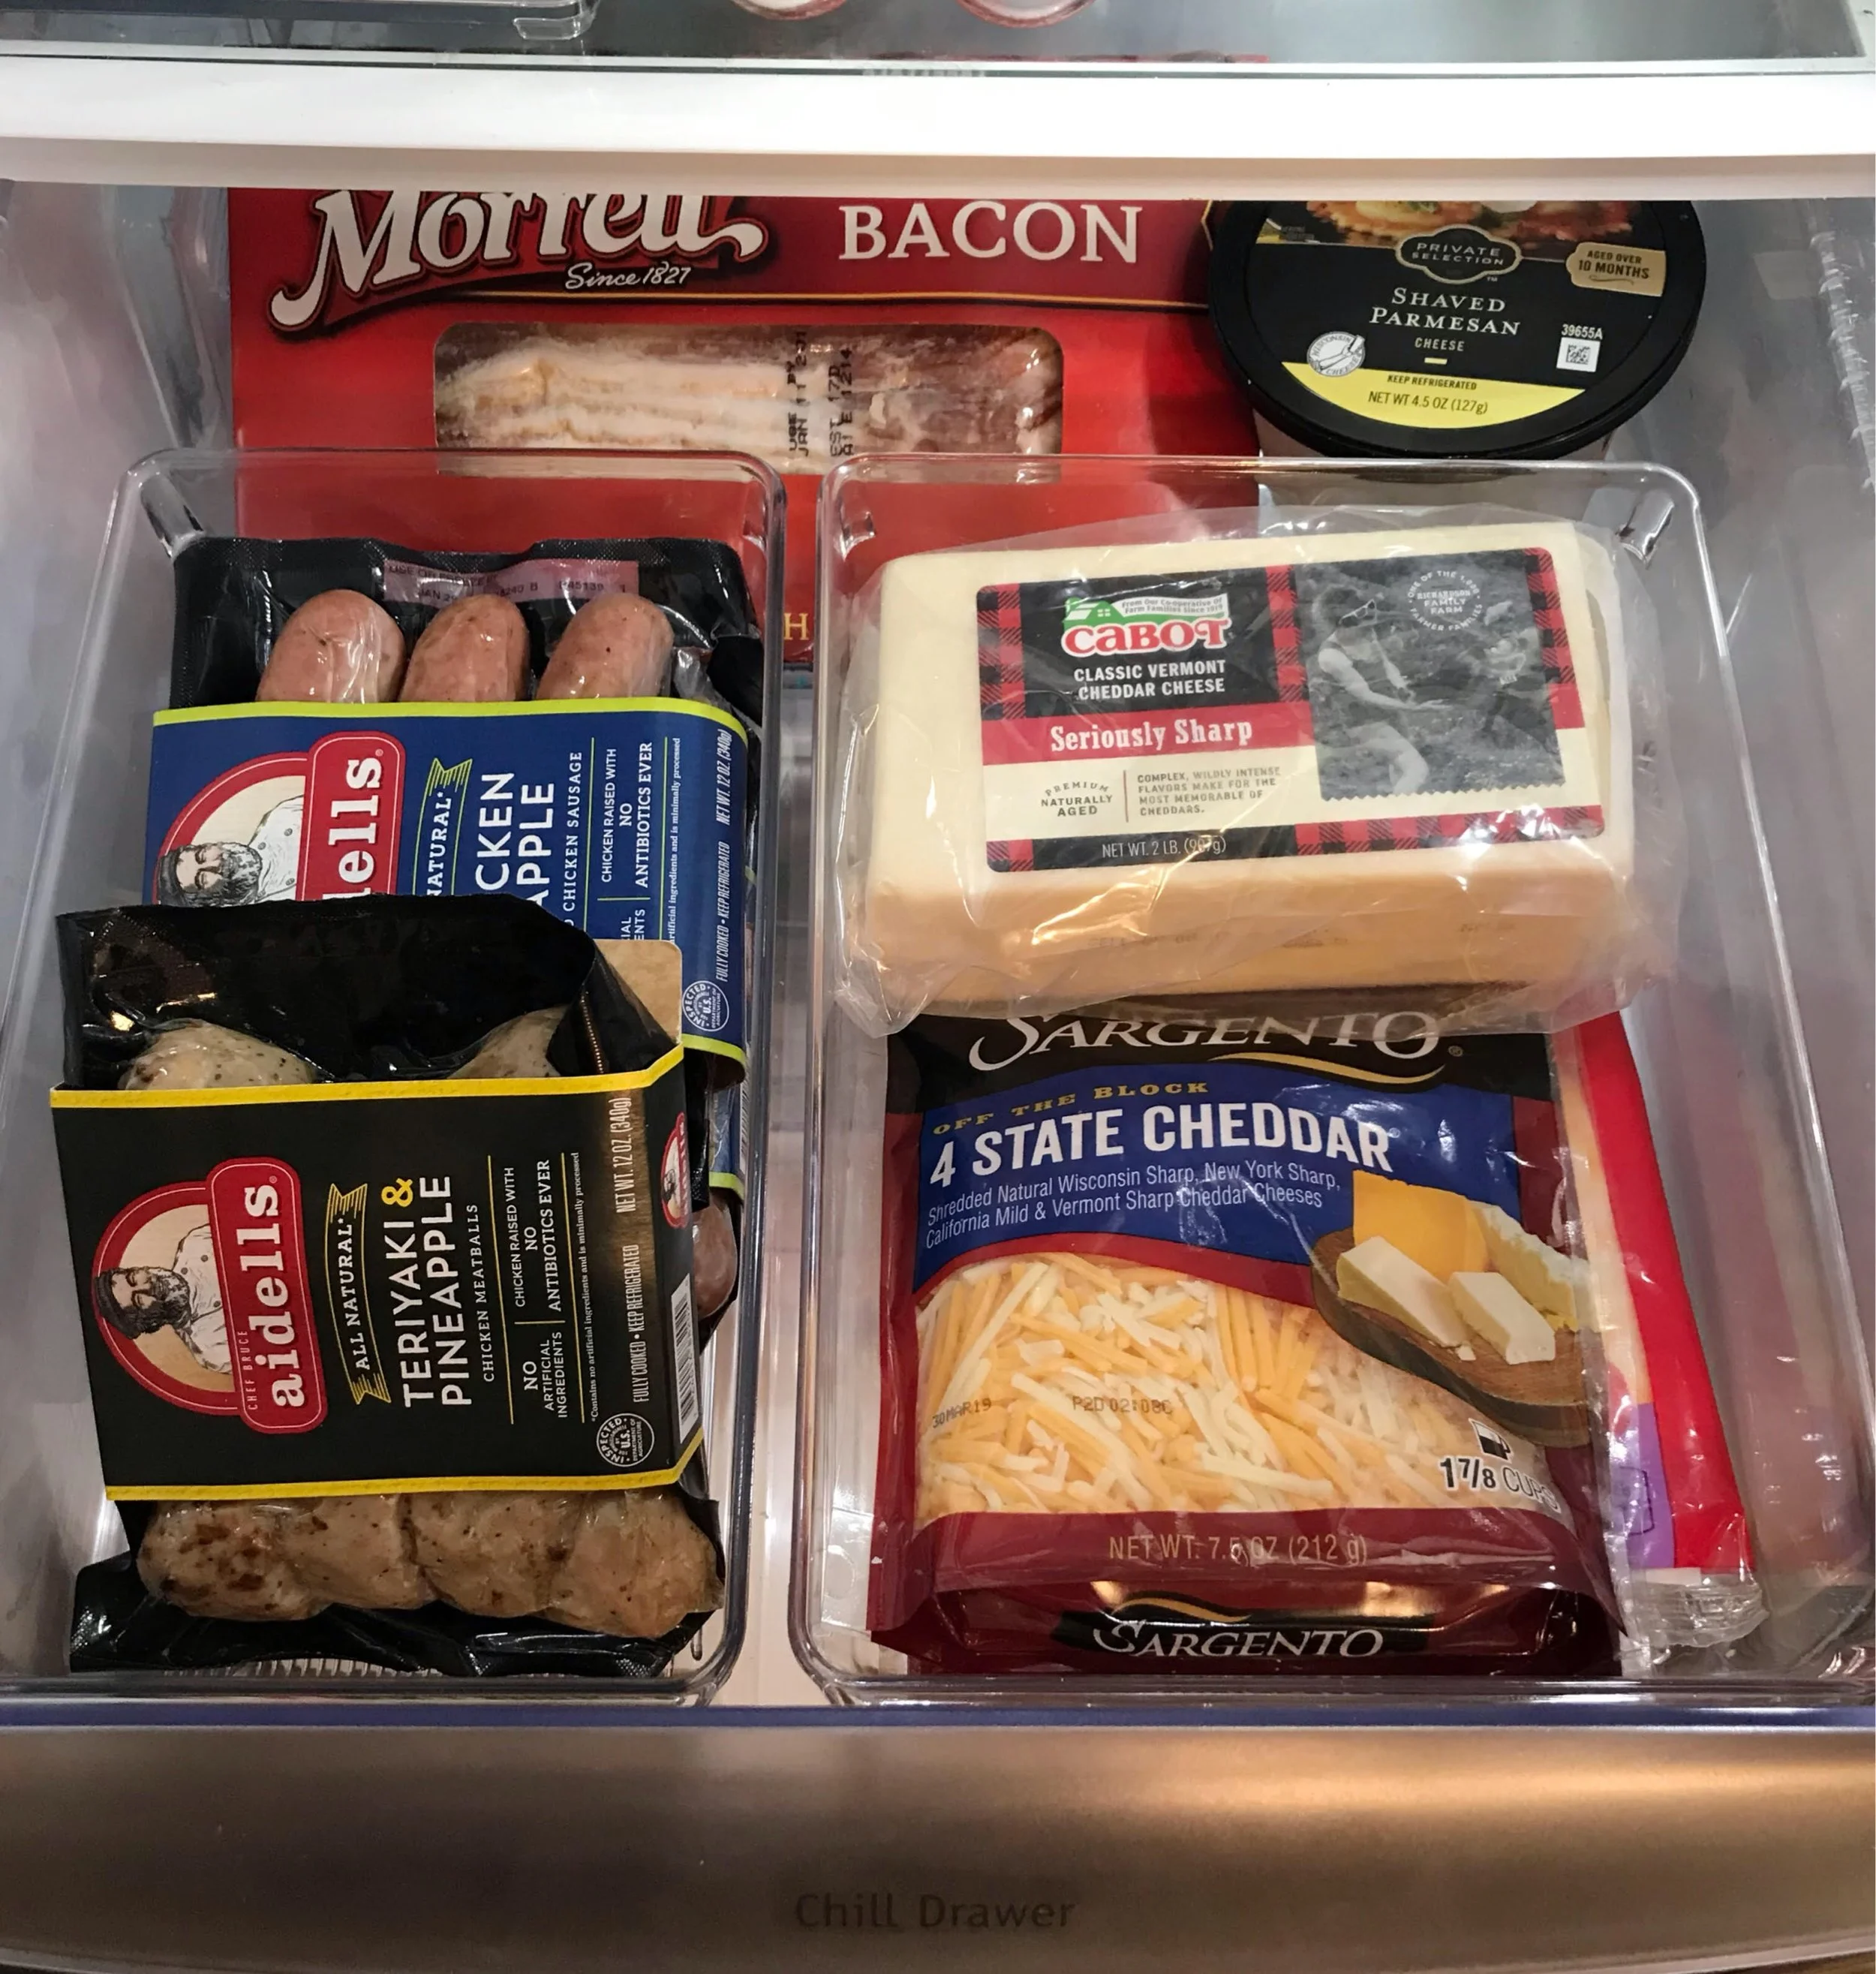
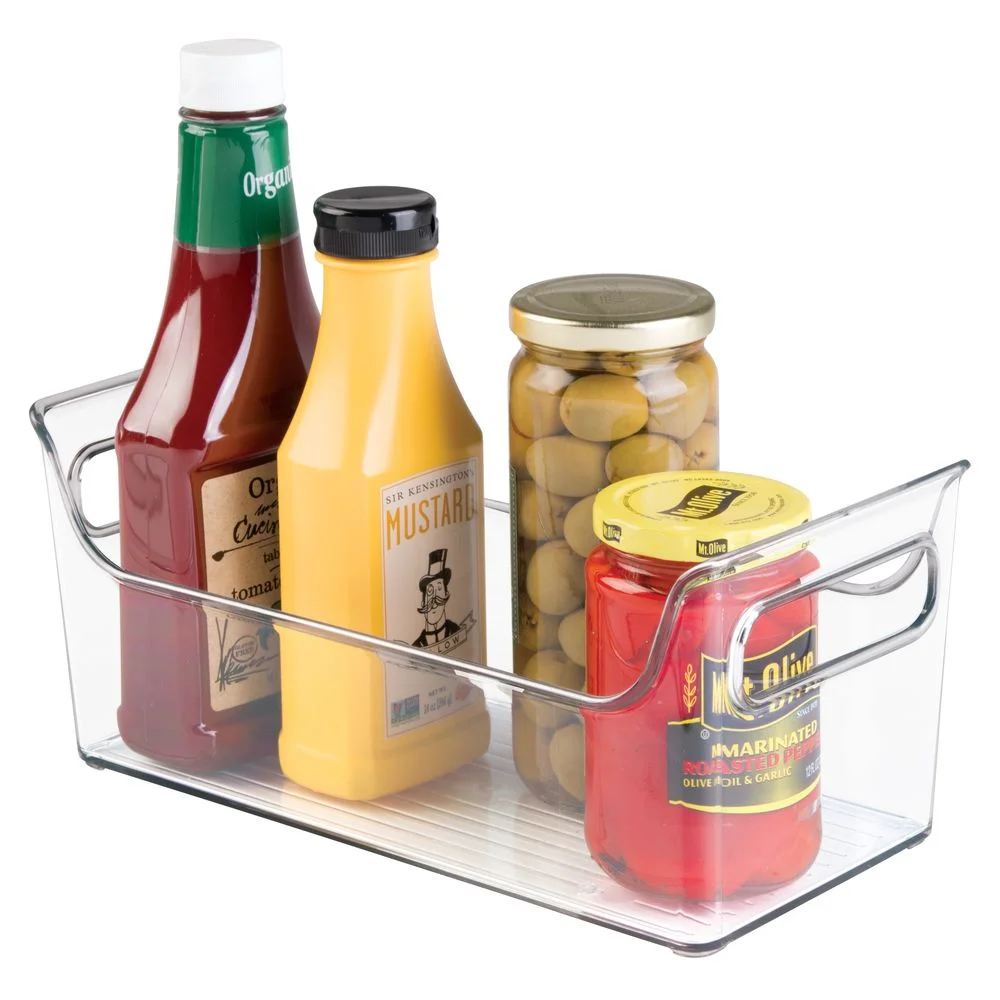
Once you’ve zoned everything back into the fridge, step back and take an objective look to determine whether any items could use some further containment. We buy Greek yogurt tubes at Costco because my boys eat them as part of their breakfast every morning, but the cardboard boxes they come in are bulky and the tubes were always tumbling out, so a shallow bin was a great solution there. The jumbled mess that was our meat and cheese drawer was driving me BONKERS, so it made sense to add some further containment there as well. For most-used bottles of condiments or dressings, pull-out bins (like the ones above) or a Lazy Susan are great ways to take advantage of depth while preventing things from disappearing into the void.
We’re fortunate to have a second fridge in our garage, so any bulk beverages like cans of seltzer or bottles of water live out there, but if you do need to work in space for beverages, I recommend going vertical. These dispensers are another great iDesign solution.
In terms of storage for things like prepped fruits and veggies and leftovers, I love the clear, stackable Brilliance containers by Rubbermaid. I’m told that having an eye-level view of things like grapes and baby carrots in clear containers helps make them a more appealing snack than all of the leftover Halloween candy on top of the fridge, but the jury’s still out on that one (wink).
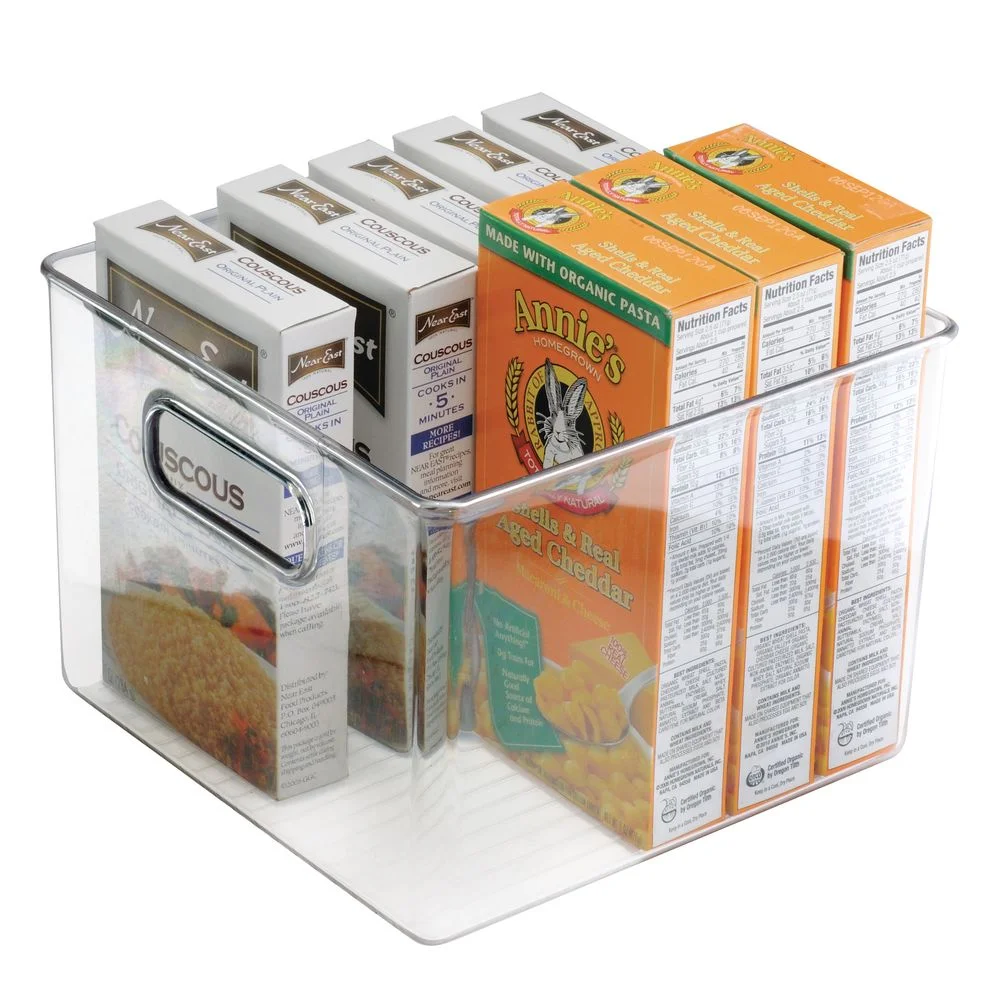
I love using iDesign’s Linus bins in the fridge because they’re super easy to wipe clean, the built-in handles make them easy to grab and go for meal prep, and the clear design lets me keep quick tabs on what may need to be added to the next grocery list. They’re also incredibly durable, which I find especially important in a home with two somewhat accident-prone (and always hungry) little boys. All of the products pictured below and throughout can be found directly on iDesign’s website.
Our fridge feels so much better now that everything is clearly contained and zoned - bring on the Thanksgiving leftovers!


